

Motorcycle Restoration: Restore vs. Replace
So, you want to make your motorcycle (or auto) look like new and restore the paint, plastic, chrome, aluminum, or stainless steel to its original finish…
A general misconception among many people that have automobiles, motorcycles, recreational vehicles, medical furniture, home furniture and more that are in need of repair is that, “It is less expensive to replace rather than to restore.” This is a fallacy.
This is the reason why so many people want to recondition cars, boats, trucks, tractors, RV’s, furniture, headlights, vinyl and leather surfaces and more. Why throw something out that could be restored to new for a fraction of the price.
Safety Tip: Though we believe in restoration vs replacement, when examining your motorcycle if a plastic or fiberglass part appears to be damaged severely and has a structural value to it - you may want to consider replacing this part for the rider’s safety.
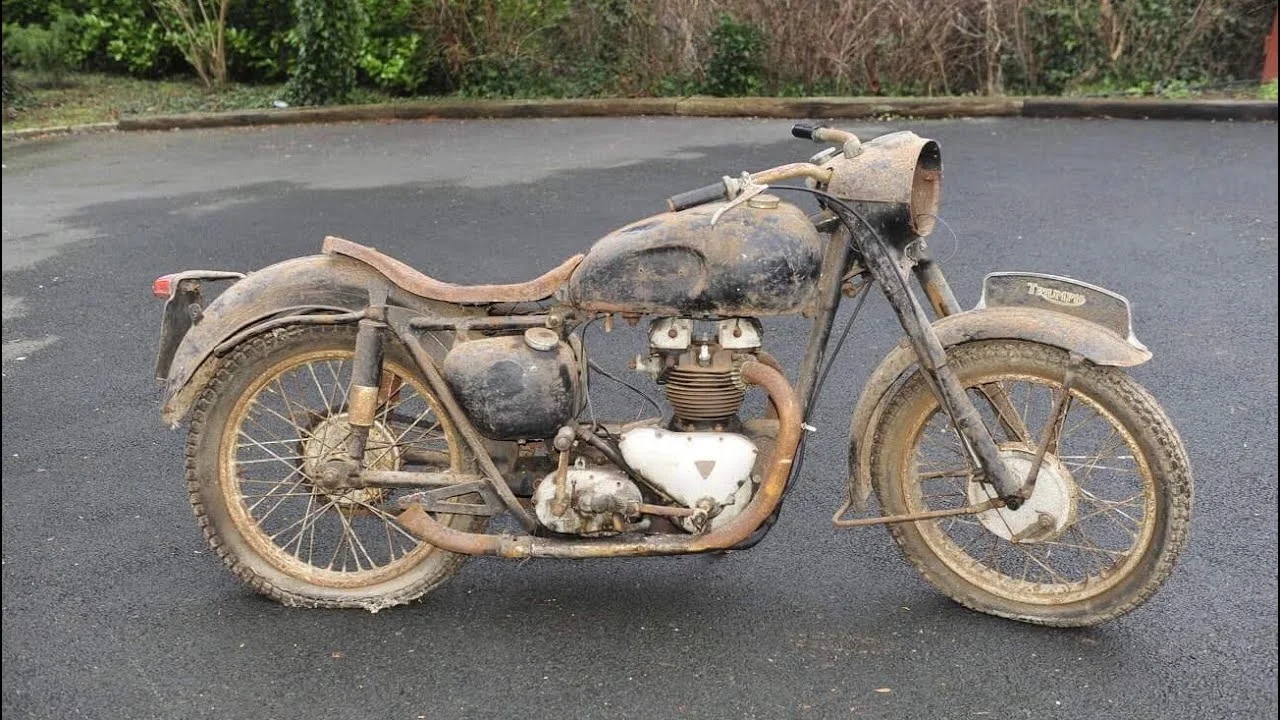
Is this your motorcycle?
DIY Motorcycle Restoration Tips
Most of every motorcycle’s outer covering or fairings are made from high-strength plastic or fiberglass reinforced resin. These plastics are designed to to repel the sun’s ultraviolet rays, but the sun can still cause fading over time. Depending on how you neglect your bike, you may also experience cracking on the surface of your painted areas.
Replacement parts can be very expensive and sometimes hard to find depending on the age of your motorcycle. Follow this guide below if you’d like to save money and restore what you have. You’ll feel great about your savings and your micro-impact on your carbon footprint in reducing one more plastic purchase.
The Tips
Some things you’ll need.
Concentrated liquid laundry detergent
100 percent cotton rags (terry cloth)
Painter's masking tape
Plastic conditioner
Plastic polish
Plastic buffing compound
UV sun blocker for plastics
Wash thoroughly
Wash the damaged plastic thoroughly, using a concentrated liquid laundry detergent. A good guide is 3 teaspoons detergent to about 16oz of hot water. Remember detergent in concentrated so you don’t need to overdo it. More is not better. Plastic buffing compounds, conditioners and polishes require a grease-free surface to work properly. Plastic motorcycle parts are exposed to grease from the engine, as well as dirt and debris from the road, therefore, a complete cleaning is absolutely necessary. Wipe everything down with cotton terry cloth and allow the surface to dry before going forward with your job. You may need to plan this into your schedule.
“As usual, you should follow any special manufacturer’s instructions regarding the conditioner.”
Examine the area
Examine the plastic surfaces to determine what type of damage has occurred. Most sun damaged areas will be faded, fogged or yellowed. Fogged plastic will have a hazy look that leaves the plastic's finish cloudy and unclear. Use painter's masking tape to create a 2-inch border around the damaged areas.
Apply plastic conditioner
Many plastic conditioners are designed to neutralize yellowing or fading, thus restoring the plastic to its original color. Work the conditioner into the surface of the plastic, moving the cotton rag in a circular motion. Allow your work to dry for at least two hours. You can reexamine the damaged surfaces for fogging and micro cracks and redo areas if necessary.
As usual, you should follow any special manufacturer's instructions regarding the conditioner.
Apply a plastic polish
Apply a plastic polish to the reconditioned surface (we’re talking about the area you just conditioned). Apply the polish with a 100 percent cotton terry cloth. If there are any noticeable scratches visible after polishing, proceed to the next step. If there are no scratches, remove the masking tape - you’ve come to completion!
Apply buffing compound
Plastic buffing compounds come in two strengths:
One for deep scratches.
One for light scratches.
Micro cracks from sun damage are repaired with a light scratch remover. Buff the scratches out, using a circular motion rather than moving the rag back and forth parallel with the scratch. This avoids creating a depression or indentation on the surface being buffed. Once the scratches are removed, wipe the area down with a your clean cotton terry cloth or rag.
The buffed area does not have to be reconditioned before proceeding.
Apply a plastic polish
Apply a plastic polish by lightly spraying the surface with enough polish to leave a thin coating across the the damaged areas. Most plastic polishes come in some sort of spray bottle. If the polish doesn't have a spray top, use a couple teaspoons of polish per square foot of damaged area. You can rub the polish in until a glossy and uniform finish is achieved across the entire area. Wipe the damaged area down one last time to complete the project.
Product Tip: Many plastic conditioners offer products that contain a sun blocker formulated for plastics. This sun blocker is similar in concept to what you may apply to your own human canvas when relaxing on the beach.. Apply a coating onto all the motorcycle's plastic parts to extend their life.
You can restore your headlight to! Don’t buy replacement parts when you can restore to new. Check out our article on “How To Restore Your Car Headlights to New”
Need Professional Help?
Color Glo professional restoration specialists are trained to see beyond the misconceptions. Our specialists know that prioritizing mitigation and restoration efforts will stop further damage, reduce loss and expense and you get up and running again very quickly - motorcycles, vehicles, office furniture… you name it.