

How to Clean Your Automobile's Interior Wood Trim
Wooden trim can really bring the class level of your automobile investments to a new level but if its not cleaned and cared for properly (like all other parts of your car) it will begin to look faded and tired, and can leave the overall impression of your interior looking drab.
Cleaning interior wooden trim
Ahh wooden trim... Think classic jaguar. Wooden trim can really bring the class level of your automobile investments to a new level but if its not cleaned and cared for properly (like all other parts of your car) it will begin to look faded and tired, and can leave the overall impression of your interior looking drab.
If your wooden trim is excessively dirty or has been left unattended and it has build up on it, then it should be thoroughly cleaned with a diluted all purpose cleaner and a microfiber towel. Using soft-bristled detailing brushes can also be used to access tight areas, corners and curves. It is important when using an all purpose cleaner that you ensure you thoroughly remove all residue and do not allow it to dry anywhere on the trim.

Next Step
After contaminants, dust, and grime have been cleaned off you will be able to see the true condition of the wooden trim. If it has become oxidized or lightly scratched/swirled over time you can polish it to remove these imperfections.
An all in one polish product made for the paintwork of your car may ideal for polishing wooden trim. A small amount should be applied to a sponge or microfiber applicator pad, then worked into the trim using both circular and linear motions. Once the polish has dried it should be buffed off with a soft microfiber towel.
“An all in one polish product made for the paintwork of your car may ideal for polishing wooden trim.”
While polishing your wood, you should be careful not to contaminate the surrounding trim with polish residue. In fact taping off the trim with painters tape may be a good idea depending on the car.
If the trim has been neglected over a considerable amount of time you may need to repeat the polishing process a number of times until the trim has been restored to a satisfactory standard.

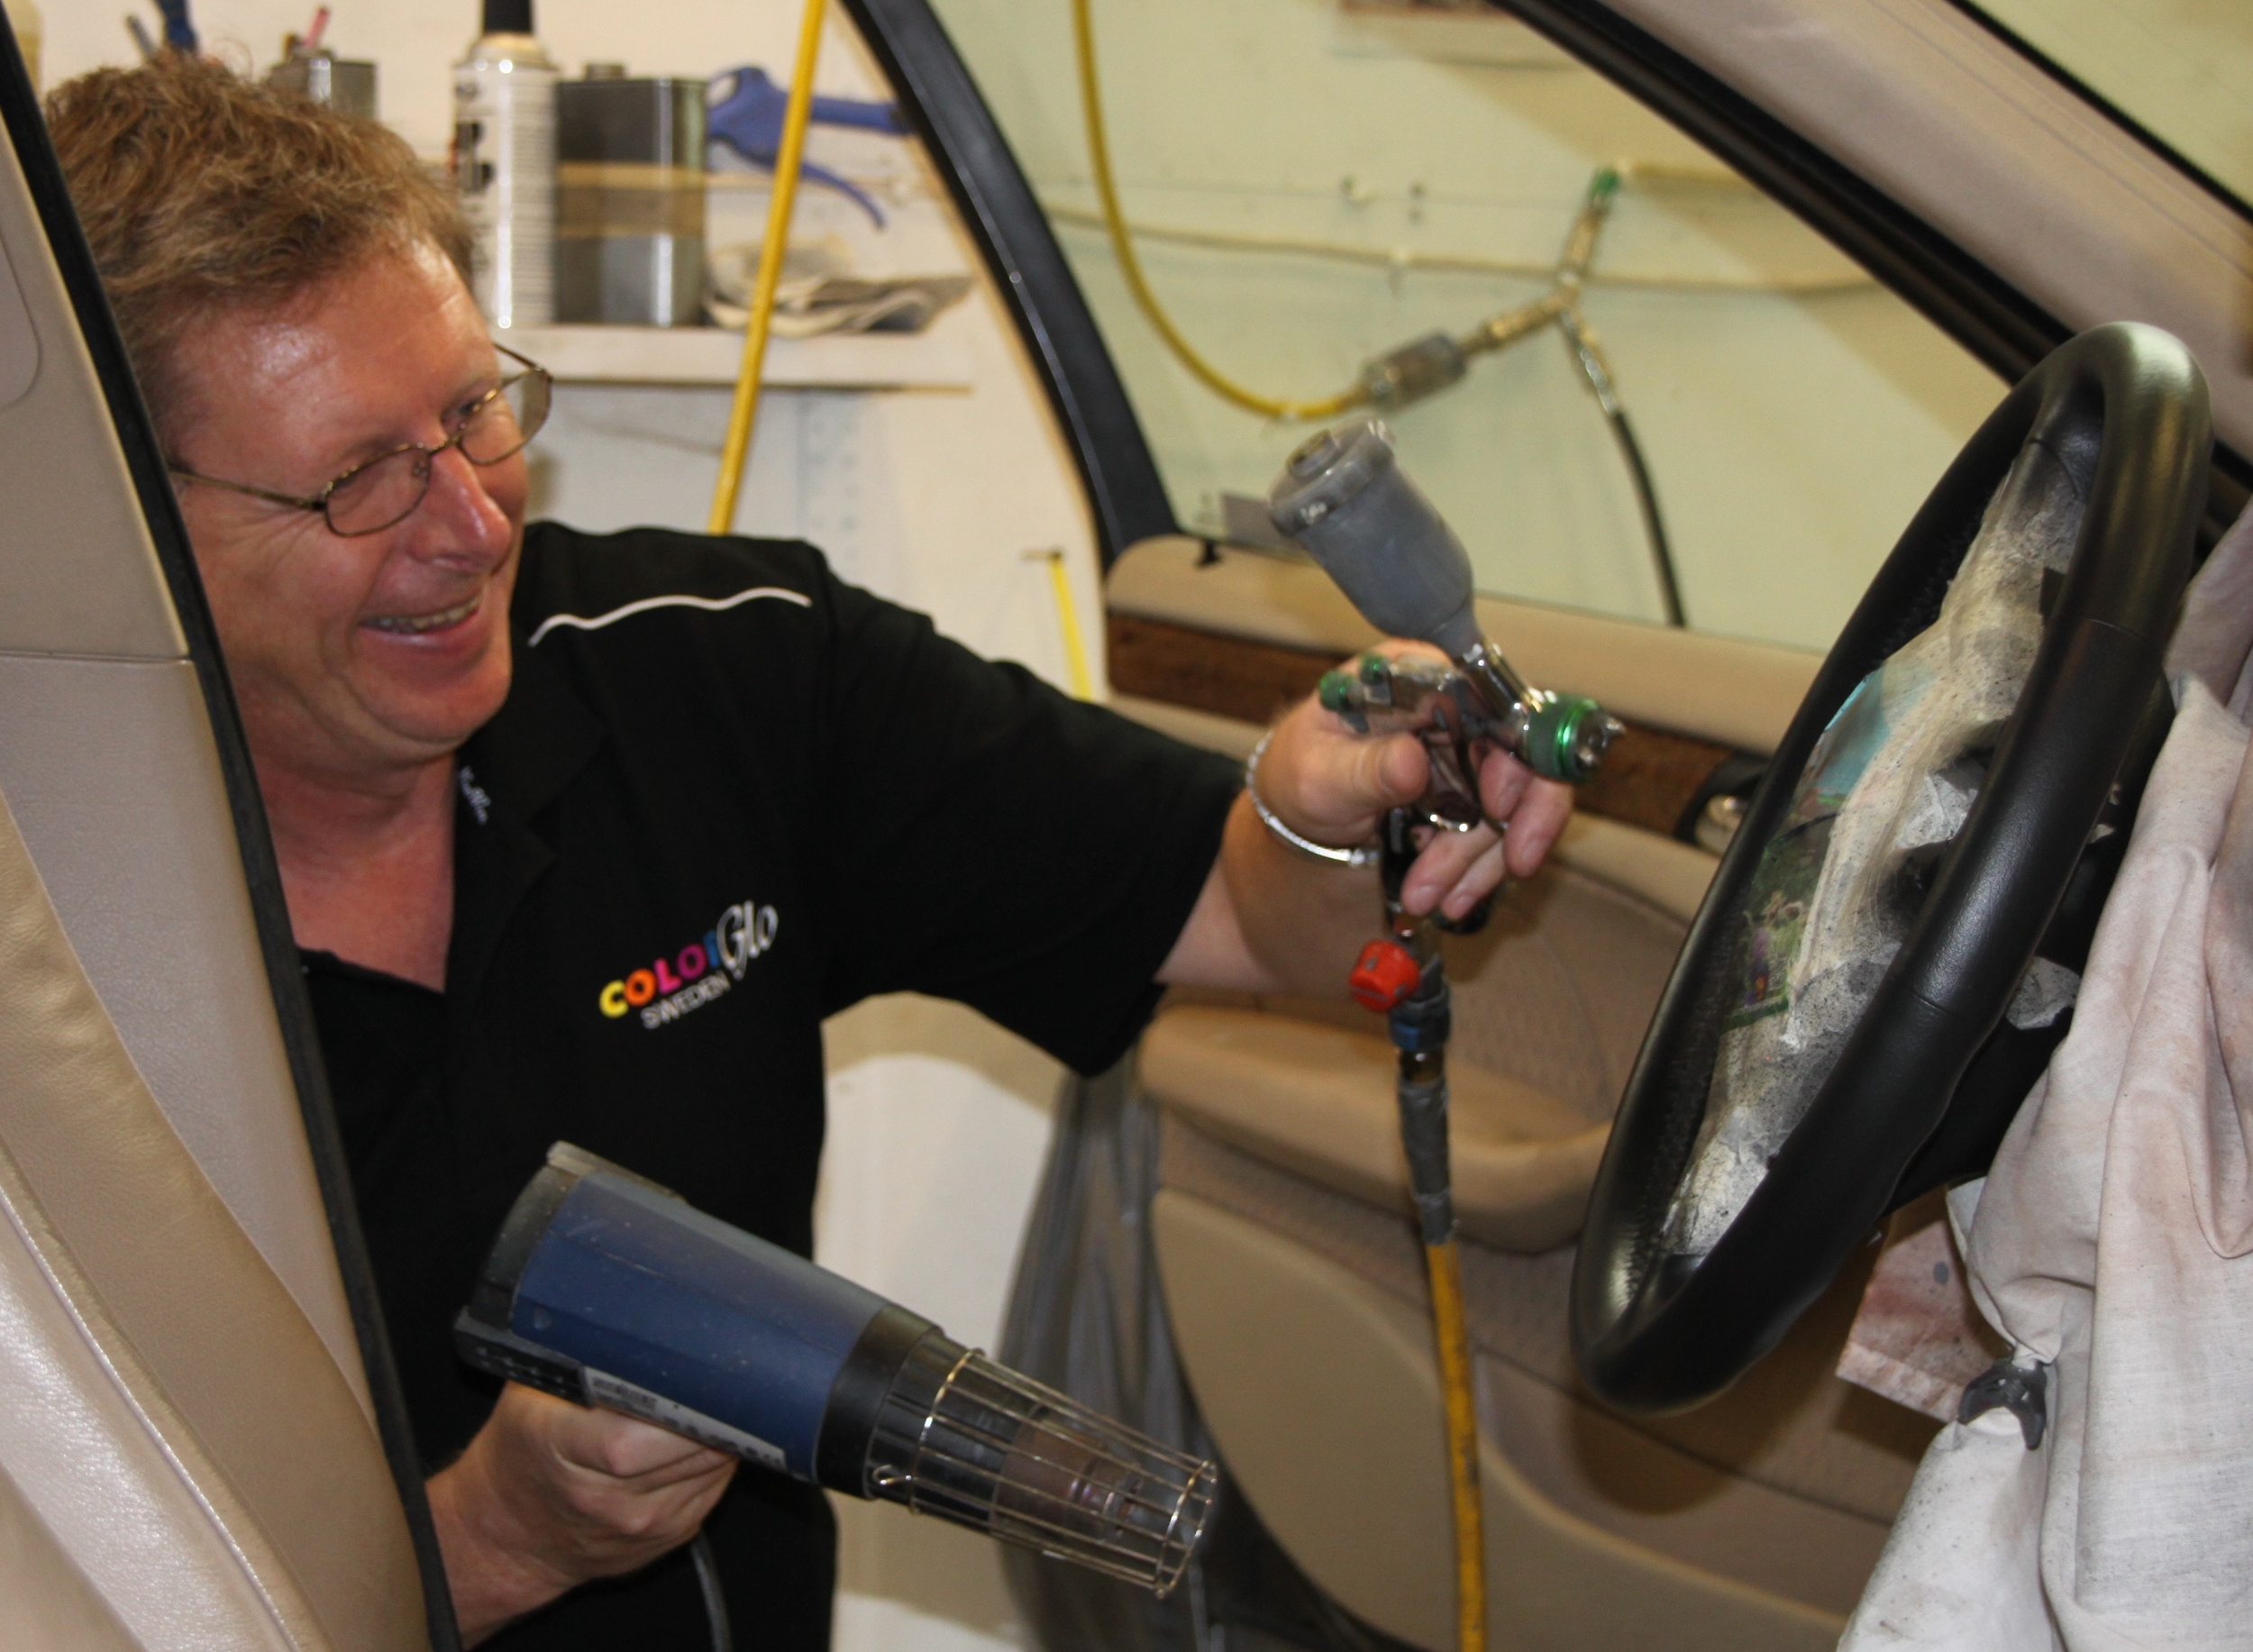
Some classics may have wooden steering wheels.
What do I do now?
You've polished; what now? After polishing, your wooden trim can be waxed with a good quality natural carnauba based product. This will help to protect and seal the trim. It will also bring out the clarity of the grain in the wood and vastly enhance the reflections of the clear coat. The wax should be applied via a sponge or microfiber applicator pad, left to cure, then buffed off with a clean, soft microfiber towel. You'll want to ensure again that you do not contaminate any of the surrounding trim with wax residue or your job will become a bit more involved...
Maintenance is key
After your wooden trim has been cleaned, polished and protected it should be routinely maintained. Owning an automobile is either a passion or a pain for many people and wooden trim can increase your time invested. It needs be properly maintained along with the rest of the interior of your car to keep it looking its best. It should be vacuumed off using a soft brush attachment to remove any dust and loose contaminants, then wiped over with a soft microfiber towel and a detailing spray. Using a detailing spray works very well in maintaining interior wooden trim. You may want to read our other advice on how to clean the interior of your car.
If you find that you have a problem with your trim attracting allot of dust and other loose debris soon after it has been cleaned. This could be due to static that has been created from buffing it with a microfiber towel. A good way to combat this problem is to use an anti-static screen cleaner that is designed to clean computer monitors, mobile phone screens and other similar surfaces. The cleaner should be misted over the surface then lightly wiped over with a fine, soft lint free cloth.

For more reading, check out how to clean plastic exterior car parts.
Want to hire a professional?

How to Clean Plastic Exterior Car Parts
Your car has a lot of exterior plastic (believe it or not), which may require a different approach than the interior of your car. Knowing what to use is key, as plastic can be discolored or adopt a permanent haze if you're not real careful.
How to clean plastic car parts
We've talked about how to clean the exterior of your car in the past, and even the leather seats and upholstery. We also covered how to clean your car's interior plastic parts. But what about all the exterior plastic parts that weather the elements?
Your car's plastic will build up dirt and dust naturally just by moving and operating or even sitting there. Your clean natural clean tendencies are simply not enough. By cleaning your car's exterior as well as the interior, you can keep it looking newer much longer. Very good for resale and very good for you as you cruise the strip.
Your car has a lot of exterior plastic (believe it or not), which may require a different approach than the interior of your car. Knowing what to use is key, as plastic can be discolored or adopt a permanent haze if you're not real careful. Many years ago, we had to be careful not to confuse rubbing compound for turtle wax... Well, with today's chemicals and endless options, you'll want to excercise the same caution when clean your car's plastic parts.

Your potential for failure :-)
Your car is made of several types of materials, though most of the parts that are for aesthetics or looks are plastic. Plastic is used because it is easily molded to a desired shape and can be tinted to match the vehicle’s color. It can also be painted to match. Plastic parts range in purpose including:
Molded plastic parts for door panels or quarter panels.
Close-out panels designed to block mechanical parts from view.
Smooth, painted components such as bumper covers and trim areas.
Textured plastic parts.
Soft-touch plastics for attractive interior/exterior finishing.
“A general rule of thumb is painted plastic on the exterior of your car can be cleaned in the same fashion as the rest of your paint.”
Plastic components can (and do) get dirty just like the rest of your vehicle. Common offenders are oil from the road, dust, and debris, and potentially even food, beverages, bugs and more. Plastic may need to be treated differently than the rest of your car depending on its composition and finish.
Clean the textured plastic exterior parts
Textured black plastic on the exterior of your car is typically very rich in color. And whether they are black, grey, or tinted to match the rest of your auto's paint job, they can fade from the sun. Textured black plastic is typically used for parts such as mud guards, unpainted bumpers, windshield wiper cowls and other similar accessories.
You'll notice when this fading has happened because what used to be deep and rich will now appear to have a white tinge or cloudiness to it.
Your plastic can be restored.
Materials Needed
Clean lint-free cloth
Plastic trim cleaner (we recommend a Color Glo product that your local color restoration specialist will use when working on your project).
Trim brush or toothbrush
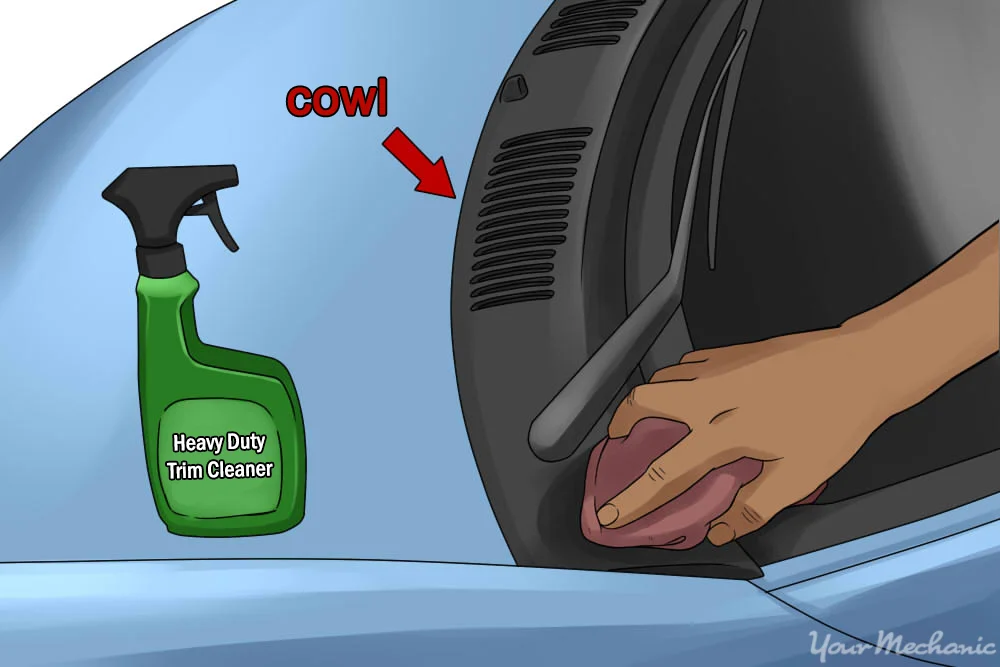
Image: Your Mechanic
Step 1:
Apply the cleaner. Apply a quarter-sized drop of trim cleaner directly to the plastic part. Work in small sections just like when you're washing your car. So don’t use a spot of cleaner larger than a quarter and keep your work area tight and controlled.
Step 2:
Brush in the cleaner. Brush the cleaner into the trim with a small, plastic-bristled brush or toothbrush - everybody keeps these around for just this purpose. First spread the cleaner thinly over as large a section as you can with the brush. Then, brush the wetted spot with the brush until the plastic underneath appears un-faded and even. You'll be surprised.. it will come right out.
Step 3:
Wipe the area dry. Wipe the spot dry with a clean, lint-free cloth, removing any remaining cleaner and dirt. And that's it! From here you can read up on how to clean the exterior of your car to bring the entire vehicle back to new.
Want to hire a professional?

How To Clean Plastic Interior Car Parts
There is more to cleaning a car than just filling up a bucket with mild soapy water, scrubbing it down and rinsing it off. The plastic interior needs to be kept clean as well. Follow our simple tips to dust, clean, and restore yoru plastic car parts.
How to clean plastic car parts
We've talked about how to clean the exterior of your car in the past, and even the leather seats and upholstery. But what about your plastic car parts?
Well, there is more to cleaning a car than just filling up a bucket with mild soapy water, scrubbing it down and rinsing it off. The plastic interior needs to be kept clean as well. Your car's plastic will build up dirt and dust naturally just by moving and operating or even sitting there. Your clean natural clean tendencies are simply not enough. By cleaning your car's interior, you can keep it looking newer much longer, which is good for resale and good for you.
Your car has both interior and exterior plastic, which may require some different methods. You just need to make sure you are using the right products on your plastic interior.
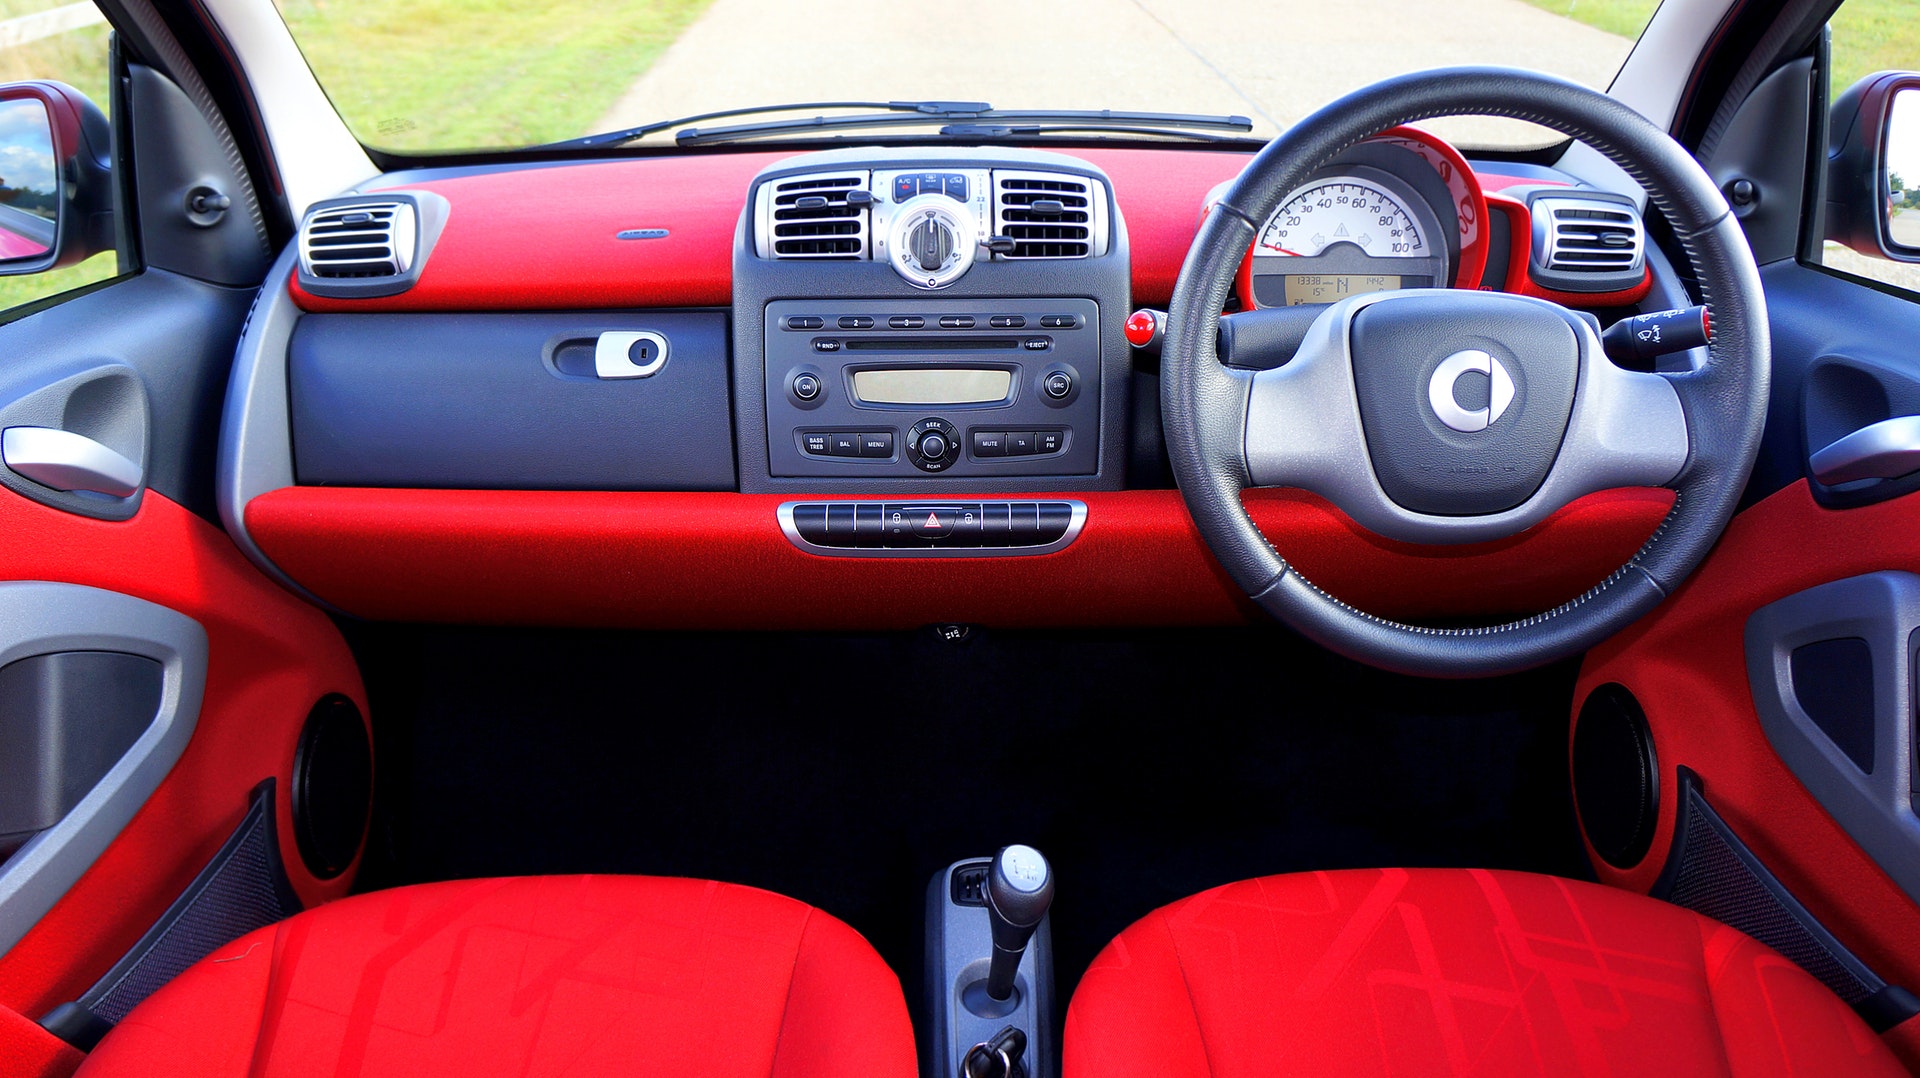
You can keep your classic car or sports car looking this good with a little bit of TLC.
What you need to clean interior plastic
Vacuum the interior first. Before you begin this project, vacuum out your car to remove any debris, dirt, and dust. Your cleaning products of choice will perform much better if you take care to vacuum before getting started. You can avoid scratching your plastic dash and other areas by using the soft brush attachment.
Remove the floor mats BEFORE your start to vacuum.
Take extra care around vents, knobs, and accessories. You can damage these easily if you're not paying attention.
“Vacuum out your car first, to remove any debris, dirt, and dust”
Cleaning the interior
Dust the plastic. Use a soft damp cloth (water only) or soft hand-held dust mop (available in the car care section of any grocery or discount store) to clear away dust. Some people use a vinegar solution for this too. Generally speaking, this should be ok as vinegar is a non-abrasive natural cleaner but depending on the composition of the plastic, you may find that it leaves a residue. With today's composite materials and expensive replacement costs, sticking to water is a great option.
A small, soft-bristled paintbrush works well to clear dust from crevices around the gear shift and hand brake, the radio controls and other tight spaces where dust can settle. You can also use a soft-bristled toothbrush and Q-tips to clean crevices and hard to reach areas.
Tip. If you used a damp cloth, go back with a dry soft cloth to dry the plastic.

Photo: Your Mechanic
Treating stains on plastic
If your plastic is stained, apply a very small amount of mild soap, laundry detergent, or plastic auto cleaner to a damp cloth. If you need advice on what auto cleaner to use, just ask your local Color Glo Specialist.
Never apply any cleaning solution directly to the plastic. Wipe the area until it is clean and follow it up with a clean, dry rag. If you cloth begins to show dirt, turn it to a clean spot otherwise you'll simply be in the business of re-distributing dirt.
Tip. Always apply any cleaner to an inconspicuous spot to test how it may react to your plastic.
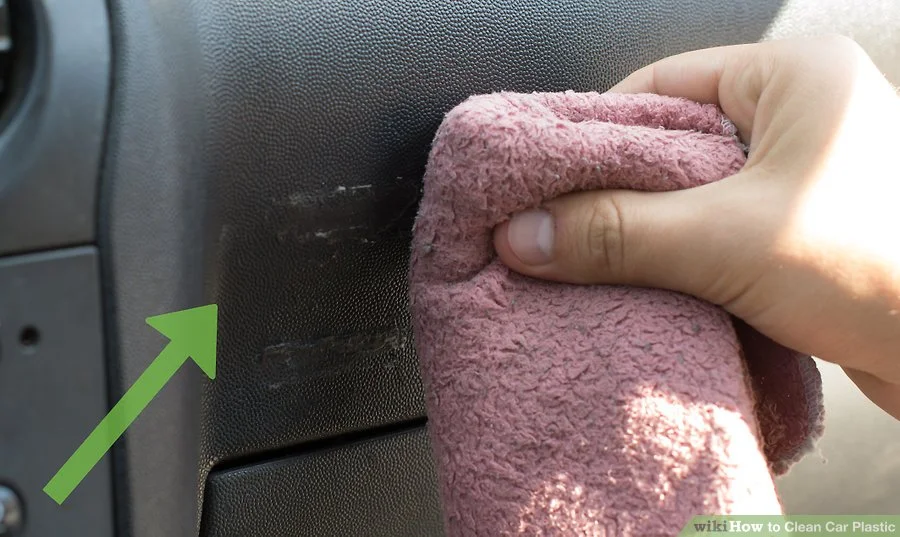
Image: Wikihow
Keeping your shine
Apply a protectant. Once your plastic is cleaned, you should apply a protectant. For DIY'rs, you can visit the automotive section of of any larger retailer or auto parts store to get some advice on what might be a good option. Always apply sprays or chemicals to your cloth or rag vs. directly on the plastic. You'll avoid spots and over-treated areas. Replace your cloth or applicator as necessary.
Use a polish. To add some shine to your plastic, use a plastic polish. Or you can use some natural products such as olive oil or boiled linseed oil. Put some oil or polish on a soft cloth and then rub it into the plastic. Then use a clean soft cloth to rub away any excess product. Boiled linseed oil can be purchase from a hardware or paint store. You can find your favorite strength of virgin olive oil at your favorite grocer.
Tip. If you find a good all-in-one product that you like, you can cut down the amount of products you use and potentially some cost. They are out there.